
Make Coffee While Camping: A Camper’s Guide to Brewing the Perfect Cup
As a seasoned car camper and world nomad, I’ve tried many methods to get my caffeine fix on the go.
And now that I’m car camping, I’ve learned how to make coffee while camping well.
Sorry, this does not include instant coffee, though go ahead and shoot your shot with that one.
When I make coffee while camping, I’m focusing on only a few things:
- ease of use
- time required
- overall experience
- flavor
To be clear, the best tasting camp coffee will be the Nanopresso, hands down. But that’s not what I use every morning!
Let’s explore each method, weigh the pros and cons, and help you find the best camp coffee makers for your next outdoor adventure!
*sips coffee*
1. Nanopresso
TL;DR – The Nanopresso is a sophisticated little gadget that makes a mean cup of coffee while camping. It’s a bit more high maintenance and requires a few more steps for setup and cleaning, but the taste is absolutely worth it.
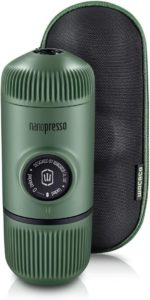
The Nanopresso is a fantastic portable espresso machine that allows you to brew a high-quality espresso wherever you are (AKA make coffee while camping like a gd coffee connoisseur).
The beauty of the Nanopresso lies in its simplicity and efficiency. It operates manually, without the need for batteries or electricity, making it perfect for camping trips, long drives, or any situation where you might not have access to a power source.
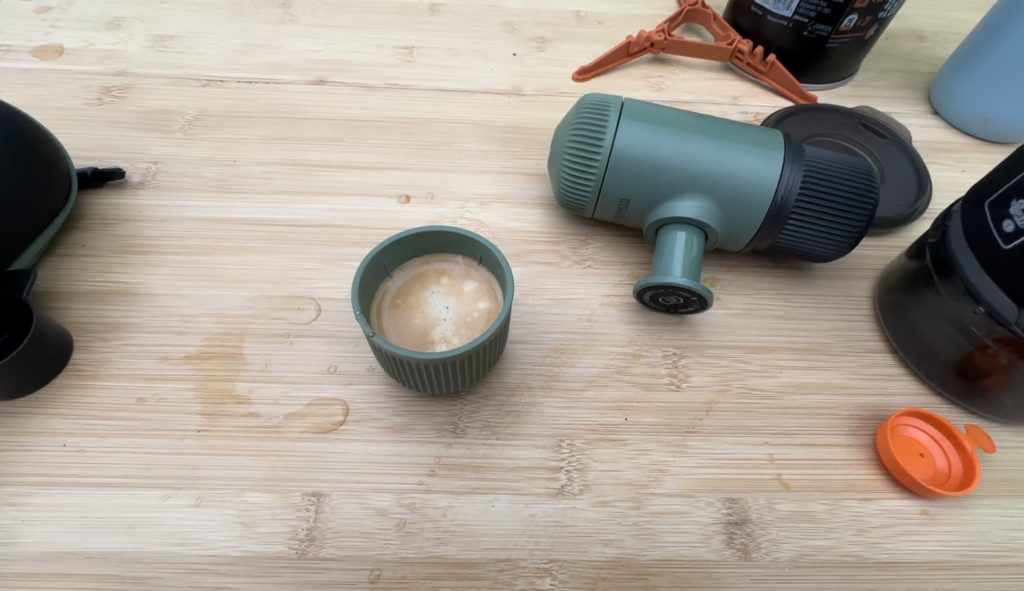
Here’s how it works: The Nanopresso uses a pumping system to build up to 18 bars of pressure – the same as a traditional espresso machine. You simply fill the water tank, add your ground coffee to the filter basket, and then pump the piston to press the water through the coffee. The result is a rich, bold espresso with a lovely crema on top.
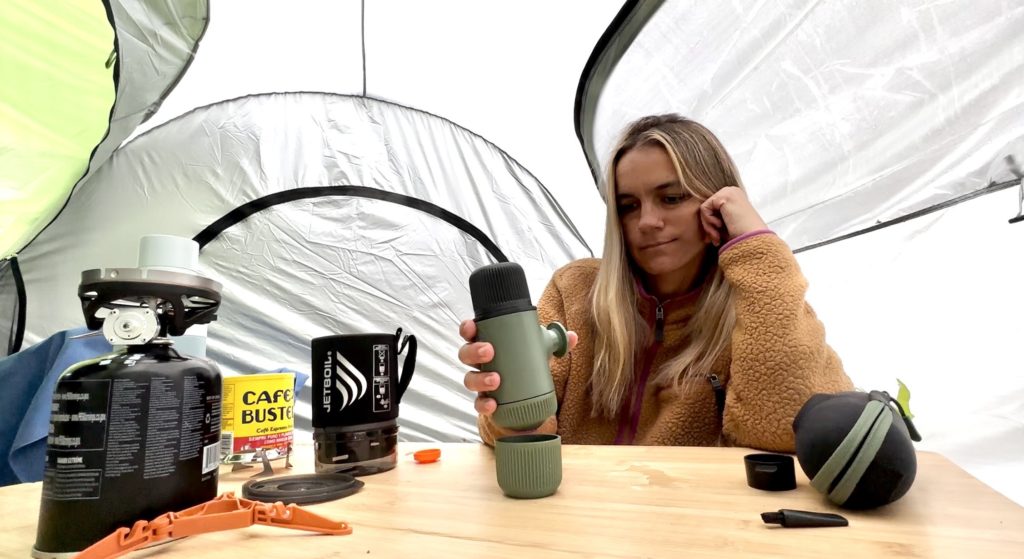
Using the Nanopresso is super easy. Start by adding finely ground coffee to the filter basket and tamping it down gently. Then, add hot water to the water tank and assemble the device. (I use a Jetboil to heat the water, but you can also use a travel kettle.) Unlock the piston from its travel position and start pumping. After a few pumps, the pressurized water will pass through the coffee grounds, and your espresso will start to pour out.
I love the Nanopresso for its convenience and the quality of the espresso it produces. It’s compact and lightweight, making it easy to carry around. Plus, it’s a fun and satisfying way to make espresso.
While I don’t use it every morning, it’s fun to use it when an unexpected beautiful moment comes up and you’d really like a nice espresso to pair with it.
The Nanopresso gives you the freedom to enjoy a delicious espresso wherever you are, and there’s something really special about that. It’s like having a little piece of the coffee shop with you wherever you go.
Pros:
- Best tasting coffee
- Sophisticated brewing method
Cons:
- Higher maintenance
- More steps for setup and cleaning
2. Pour Over
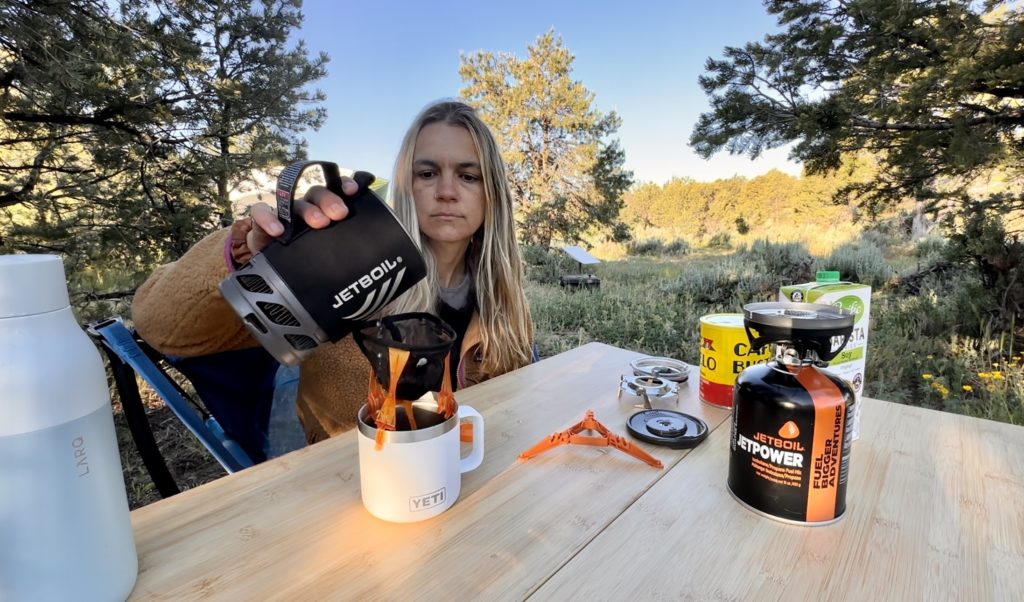
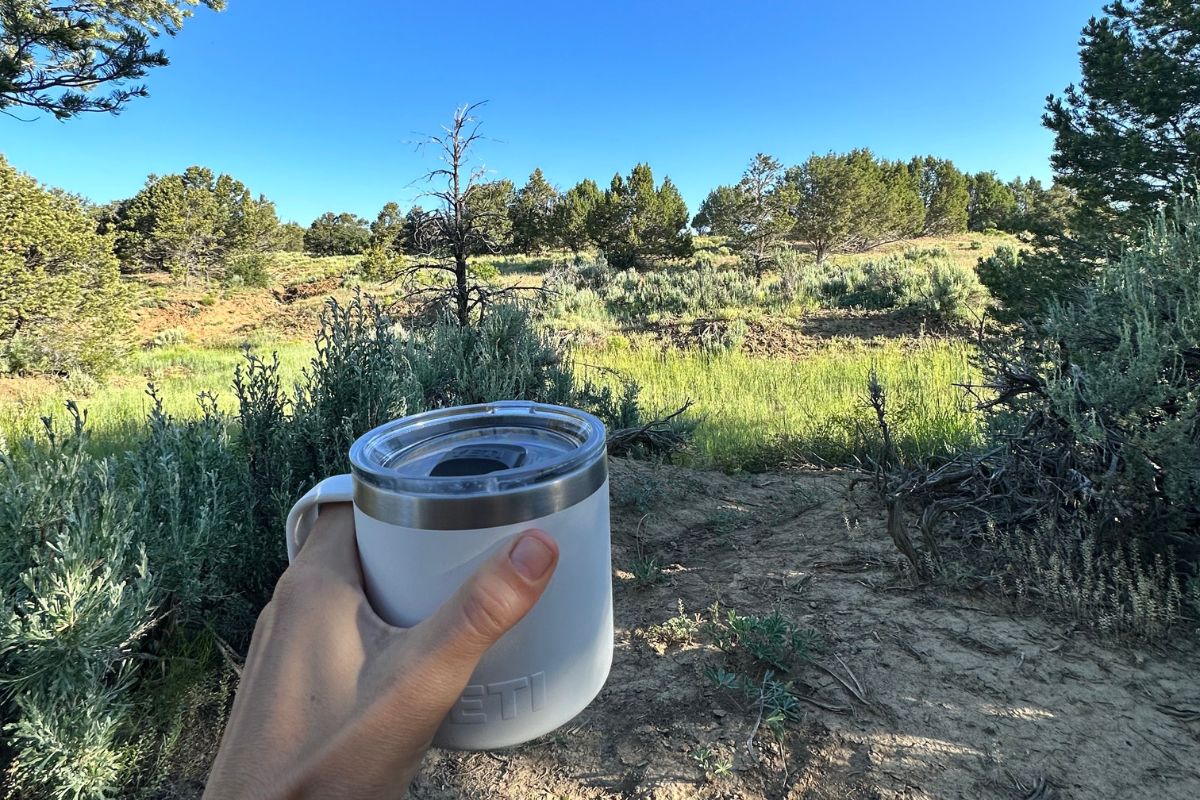
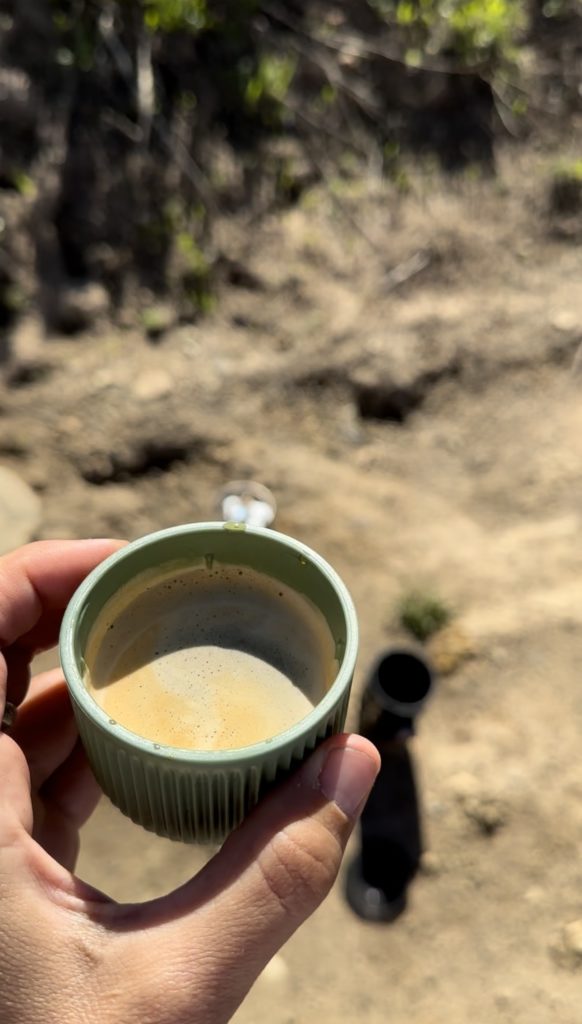
TL;DR – Pour over is my go-to method for coffee while camping in my car. It’s quick, easy, and my reusable nylon pour over filter attaches right to my mug and then folds flat. The coffee is decent, but not my absolute favorite.
A pour over filter is a compact, travel-friendly coffee brewing system that’s perfect for coffee lovers with limited space. It’s a simple device that fits on top of most standard mugs and brews a single serving of coffee directly into your cup. The design is straightforward and efficient, featuring a reusable fine mesh filter that holds your coffee grounds and allows water to pass through, extracting the flavors and aromas of your chosen coffee beans.
Using the Brew Buddy (my recommendation) is very simple. You start by placing the Brew Buddy over your mug, then adding your preferred amount of freshly ground coffee into the mesh filter. Next, you pour hot water over the coffee, ensuring all the ground coffee is saturated. Let it steep for a few minutes, allowing the coffee to brew to your desired strength. Once it’s ready, simply lift the Brew Buddy off your coffee mug top, and voila! You have a freshly brewed cup of coffee. The Brew Buddy is also easy to clean – just rinse the filter under running water and it’s ready for your next brew.
I love this method for its simplicity, portability, and the quality of coffee it produces. It’s a fantastic tool for those who enjoy the ritual of brewing their own coffee but don’t want to lug around a bulky coffee machine. My morning coffee also lasts longer than an espresso out of the Nanopresso, which is half the fun in drinking coffee.
It’s environmentally friendly, with a reusable filter that eliminates the need for disposable paper filters. Whether you’re at home, at the office, or you make coffee while camping in the great outdoors, the Brew Buddy ensures you’re never too far from a delicious cup of coffee.
Pros:
- Quick and easy
- Compact and portable
Cons:
- Coffee taste is not the best
- Uses a lot of coffee grounds
3. Bellman CX-25 Stovetop Espresso Maker
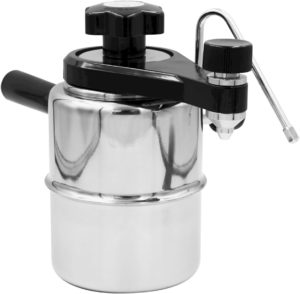
This isn’t your average coffee maker, oh no. This is a ticket to a world of rich, full-bodied coffee, right in the comfort of your camper. It’s a bit different from your usual moka pot, giving you control over the pressure build-up, which means you can tweak and experiment until you find your perfect cup of joe.
It’s a supposed dream come true for all you latte and cappuccino lovers out there. It promises to whip up café-quality steamed milk and foam, turning your camper into your very own personal coffee shop. Just remember to treat it with a bit of care. It can get hot, so keep those oven mitts handy. And give it a good clean after each use, especially the steamer.
My hot take: It sucks. I hate it so much. It does not work as promised, even with lots of trial and error. I’ve used lots of different kinds of espresso machines and am quite familiar with the process, yet this one alludes me. It requires A LOT of filtered water, which is limited while camping or on a road trip, and only spat out a mediocre burnt cup of bubbly coffee. I contacted the support team and they said to watch the tutorial videos, though I had told them I already watched everything when I reached out to them. If it was this challenging for me, an actual coffee snob, then I do not recommend it for the average coffee lover.
4. French Press
TL;DR – There are stainless steel French press options and a Jetboil attachment that makes French press coffee. I like these options but don’t find the taste improvement over the pour over method to be worth the wait.
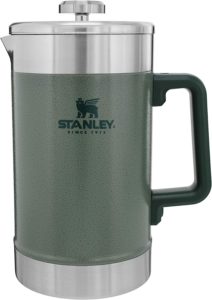
A French press coffee maker, also known as a press pot or plunger pot, is a simple yet elegant coffee brewing device that’s loved by coffee enthusiasts on Instagram the most. It’s a cylindrical pot with a plunger and built-in filter screen that presses hot water through freshly ground coffee – that’s where the name ‘French press’ comes from.
I’ve used a stainless steel French press before and that was a fun time. The stainless steel meant it was durable and easy to clean, which is one of my top priorities when making coffee while camping. But it’s a bit too big for me at this point and isn’t any better than my pour over method, which is insanely easy and quick.
To make coffee while camping with a French press, you start by adding freshly ground coffee beans to the pot. Then, you pour hot (but not boiling) water over the coffee grounds, ensuring all the grounds are saturated. The water temperature should be around 200 degrees Fahrenheit for optimal extraction. After you’ve added the water, you let the coffee steep for about 4 minutes. This is where the magic happens – the coffee grounds infuse their flavors into the hot water, creating a strong and robust brew.
Once the coffee has steeped, you slowly press the plunger down. The plunger’s filter screen pushes the grounds to the bottom of the pot, separating them from the delicious coffee brew. And voila! You’ve got yourself a pot of French press coffee ready to be enjoyed.
People love the French press because it gives them full control over their coffee’s strength and flavor. Since the coffee grounds remain in direct contact with the water throughout the brewing process, the resulting coffee is rich, bold, and full of the coffee bean’s essential oils. It’s a brewing method that truly respects the coffee and allows its complex flavors to shine.
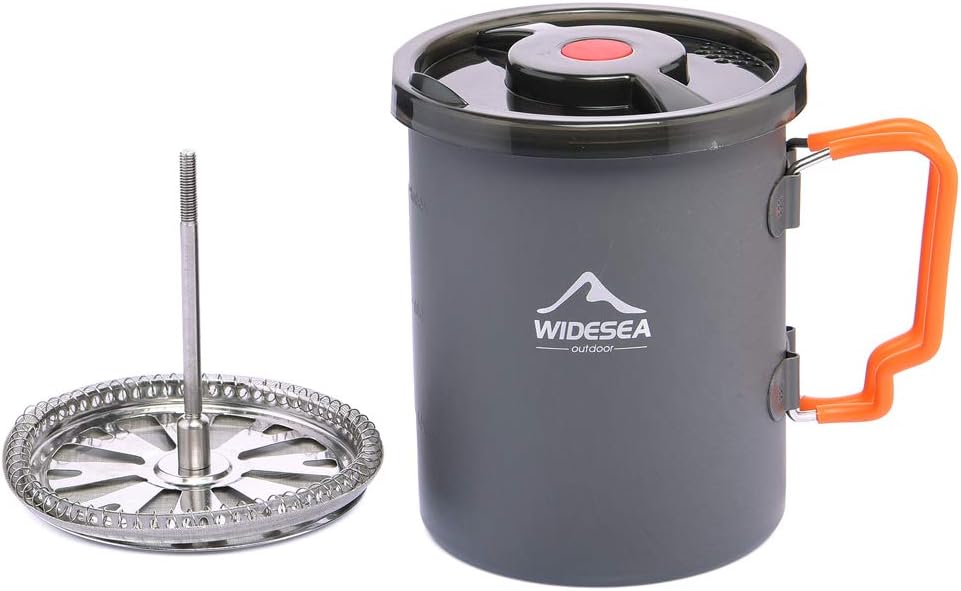
If you’re into this kind of camp coffee, then the widesea camping coffee pot is perfect for you.
Pros:
- Decent coffee taste
- Multiple options available
Cons:
- Longer brewing time
- Not much improvement over pour over
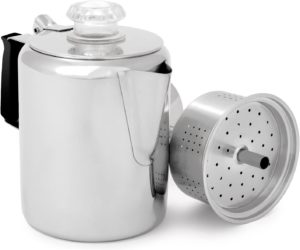
4. Stovetop Percolator
TL;DR – The stovetop percolator, affectionately called “rocket fuel” in my home, is the most cowboy coffee option. The stovetop coffee maker takes up a bit more space and isn’t worth the effort compared to the ease of making coffee with a pour over filter.
This cowboy coffee will put hair on your chest. It brews a strong morning cup with an unforgiving boldness. I used a French press while living in a van in Australia and while living in Mexico. I first got onto a stovetop espresso maker (percolator) when I was living in Miami after learning that this is how the Cuban espresso is made (mixed with LOTS of sugar, which in my opinion, is how this coffee should be prepared).
A stovetop percolator is a type of coffee maker that brews coffee by continually cycling boiling water through coffee grounds using gravity until the desired strength is reached. It’s a classic piece of camp coffee brewing equipment that has been used for generations, especially popular among campers and outdoor enthusiasts. It works with any camp stove, making it pretty versatile.
The process of using a stovetop percolator is quite straightforward. First, you fill the pot with water up to the fill line or just below the bottom of the coffee basket. Then, you add your coffee grounds to the basket – typically, you’d want a coarse ground coffee beans to prevent the coffee from becoming over-extracted or bitter. I like rich espresso though so I prefer to use medium fine ground coffee.
Once your water and coffee are in place, you assemble the percolator and place it on your heat source. As the water heats, it’s forced up a tube and over the coffee grounds. This process repeats, with the hot water percolating through the coffee grounds until your coffee reaches the desired strength.
People love stovetop percolators for a few reasons. For one, they’re incredibly durable and can withstand the rigors of outdoor use, making them perfect for coffee while camping or trips. They also allow for a high degree of control over the brewing process – you can adjust the strength of your coffee by simply letting it percolate longer. Lastly, there’s something undeniably charming and nostalgic about brewing coffee with a percolator. It’s a slower, more ritualistic process that many coffee lovers find satisfying and enjoyable.
So, if you’re the type of person who appreciates the journey as much as the destination, brewing coffee with a stovetop percolator might be just the ticket. It’s a bit more hands-on, but the end result is a hot, satisfying cup of coffee that feels like a real accomplishment.
Pros:
- Strong coffee
- Traditional method
Cons:
- Takes up more space
- Requires more effort and cleaning
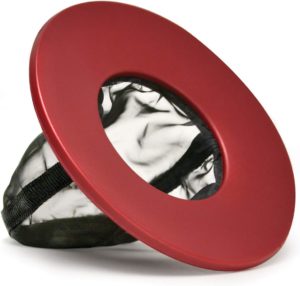
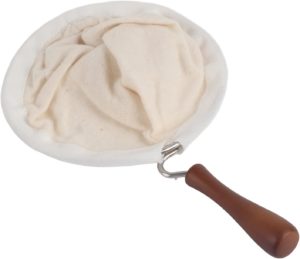
5. Coffee Sock
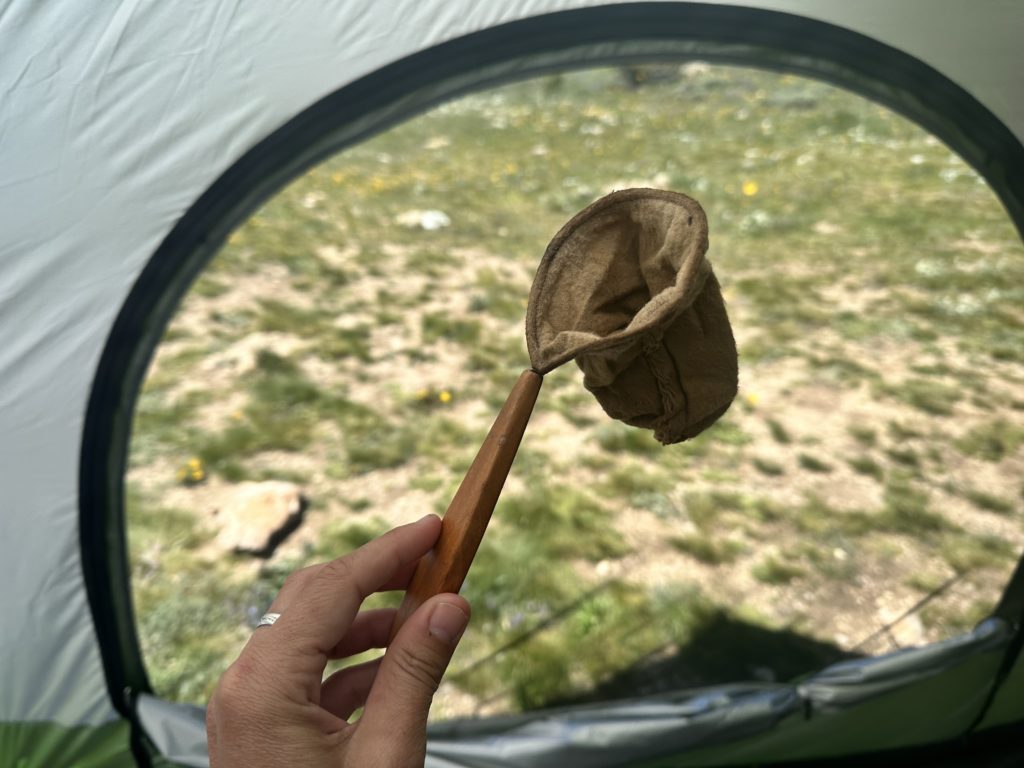
TL;DR – The coffee sock is a reusable filter made from organic cotton. It’s a zero-waste and eco-friendly option that makes a decent cup of camp coffee.
I first encountered the coffee sock in Costa Rica, which is how they make coffee down there. Turns out it was a great way to always have fresh coffee made at the ready while I was backpacking through Latin America. When I brought it over to Bali and shared it with two of my friends who had much higher standards than me (AT THE TIME… I hadn’t lived in Australia yet), they refused to use it more than once. They hated the taste and how wasteful it was with the ground coffee.
But I liked it for a really long time so I only share this with you to offer different perspectives.
A camping coffee sock is a simple yet effective tool for brewing coffee while camping. It’s essentially a reusable filter made from organic cotton, shaped like a sock, hence the name. It’s a fantastic eco-friendly alternative to disposable paper filters and is gaining popularity among coffee lovers for its simplicity and sustainability.
Using a coffee sock is a breeze. You start by placing the coffee sock over your coffee cup or pot, much like you would with a pour-over coffee maker. Then, you add your ground coffee into the sock. The amount of coffee you use will depend on how strong you like your brew, but a good starting point is one tablespoon of coffee for every six ounces of water. Once your coffee is in the sock, you slowly pour hot water over the grounds, ensuring all the coffee is saturated. The freshly brewed coffee will drip directly into your cup or pot.
What makes the coffee sock a favorite among campers and eco-conscious coffee drinkers is its reusability. After brewing, you simply empty the used coffee grounds (which can be composted), rinse the sock well, and let it dry. Some users even boil it in water occasionally for a deep clean. It’s a zero-waste solution that’s easy to pack and carry, making it perfect for a camping trip.
People love the coffee sock not just for its eco-friendly credentials, but also for the unique flavor it imparts. The organic cotton filter allows more oils to pass through than a paper filter, resulting in a full-bodied and flavorful cup of coffee.
It’s a different taste to what you might be used to with paper filters, and many coffee enthusiasts find it a delightful change. So, if you’re looking for a sustainable, portable, and easy-to-use coffee brewing method, the coffee sock might just be your new best friend on the road!
Pros:
- Eco-friendly
- Reusable
- Super compact
- Easy to clean
Cons:
- Requires regular cleaning
- Coffee taste may vary
- Requires a lot of coffee grounds
Closing Thoughts
Let’s be honest: camp coffee is shit. It just is! We have our routines and our favorite coffee shops that have worked their ways into our lives so well that anything else makes you realize what an affront coffee can actually be. So when you brew camp coffee, it helps to get the right set up and start a new routine that you look forward to.
To summarize my reccos above, here is my quick and dirty take on each camping coffee method listed above:
- Nanopresso – By far the best tasting coffee and most sophisticated, though it is a little higher maintenance for making camp coffee and more steps for set up and cleaning. Pro tip: bring a portable manual coffee grinder with you to get the most flavorful coffee while camping! Pre ground coffee is somewhat stale and really does a disservice to the Nanopresso IMHO.
- Pour over coffee – My go-to method, though not my favorite of the coffee brewing methods, it does make decent coffee. I like how quick and easy it is, how my reusable nylon pour over filter attaches right to my mug, and then folds flat. I use my Jetboil to boil water quickly without setting up my gas stove. It’s perfect for car camping because of these reasons.
- French press – There are stainless steel French press options and a Jetboil attachment that makes French press. I like these options but don’t find it to improve the taste from the pour over method to be worth the wait. French press camp coffee works well for cold brew, though. You can pour hot water over the coffee grounds and let them soak overnight; then strain the cold coffee the next morning. You can also do that with cold water, hell!
- Stovetop percolator – Affectionately called “rocket fuel” in my home, this is the most cowboy coffee option that I have consumed on many occasions in many countries. I don’t prefer this method now because the stovetop percolator takes up too much space and, again, isn’t worth the space/effort/cleaning compared to the ease of a pour over filter
- Coffee sock ( or coffee bags) – While I love the coffee sock for its portability, how compact it is, and how little is needed to make coffee while camping, it’s not the best tasting coffee and uses up a lot of grounds. But it is quick and easy to clean and makes a comparable cup to the pour over method.
So which will it be, my little coffee lover? Let me know what your favorite method is for making coffee while camping! And also if you actually enjoy instant coffee, then drop your favorite brand in the comments and help other readers find their match!

2 Comments